Setting up a CRM doesn't have to be a lot of knife work
BlueCamroo is focusing a lot on "ease of adoption" issues this month. At BlueCamroo we pride ourselves on creating a CRM/Social CRM/Project Management/Email Marketing/Client Support/Time & Billing/All-in-one wonder program. Now, admittedly when you're creating the SaaS software equivalent of a Swiss Army knife, there's going to be some assembly required. Fortunately, we're not Ikea. It looks great in the showroom but goes in your minivan as a box full of cut wood, bizarre looking screws and fasteners, and a fold out assembly diagram only a little less confusing than a map of the Paris metro.
BlueCamroo comes remarkably useable right out of the box.
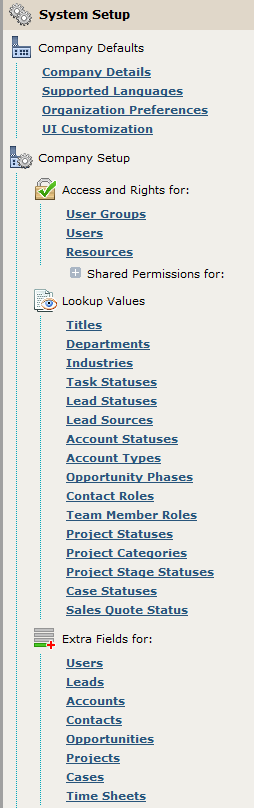
Sure the Setup menu can look intimidating but let me assure you behind the scenes BlueCamroo has created (and continues to create) a rich set of defaults that will handle most business situations. But before you can begin to use BlueCamroo you need to help it pull itself up by its own bootstraps. There are a few items BlueCamroo needs to know about your company and a new user.
Our first release for April has introduced two new wizards to help first time users and first time Administrators provide essential information BlueCamroo needs. If you're already a BlueCamroo user and admin, you won't actually see either of these wizards. If you're not currently a user (hey, thanks for stopping by and reading this blog post), you'll see both of these the first time you take BlueCamroo for your free, no-risk 31-day trial! (Boss says I got to bump up the SEO factor on these blog posts…)
If you are an admin and you're adding new users, you'll probably want a look at the wizard your new users will be using. And you might be curious what the new admin wizard looks like. So in this blog post, we'll take a walk through each of the new wizard screens.
First Time System Administrator Wizard
If you've used the existing setup wizards, you'll notice right off the new wizards have a different look. They're "modal". You can't switch to another part of the program. The existing wizards (found under Setup) walk you through actual BlueCamroo setup pages. The idea behind these new wizards is they collect up basic information and then post it back to BlueCamroo setup pages. A new user, then, doesn't have to learn a new interface while he/she is trying to learn how to setup the software. A few very simple and straight forward wizards take care of the work.
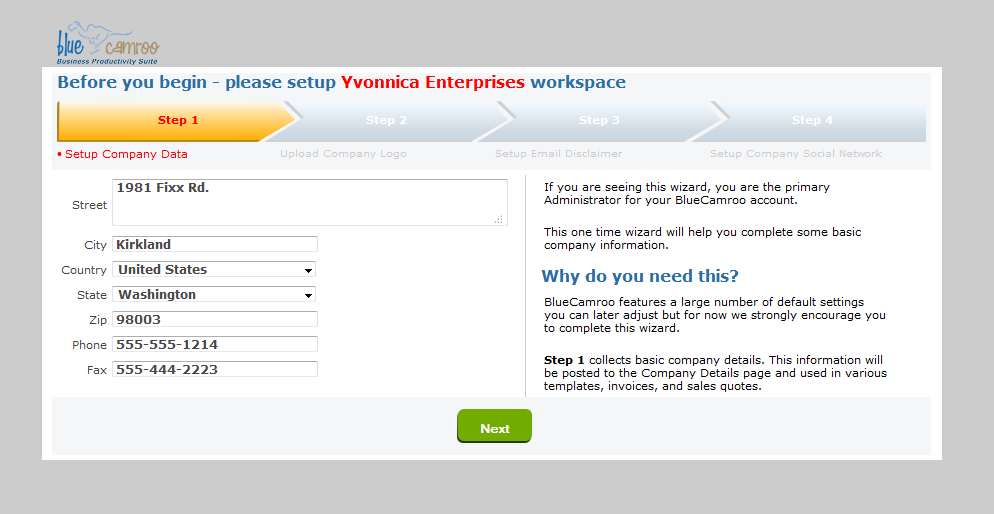
The first step of the Admin wizard gets you to complete some basic company information which gets posted back to the Company Details page. This data is used across various templates, emails, and invoices/sales quotes.

The next step is to upload your company logo. The logo is used to personalize the login screen. It swaps out the BlueCamroo logo and swaps in your company logo.
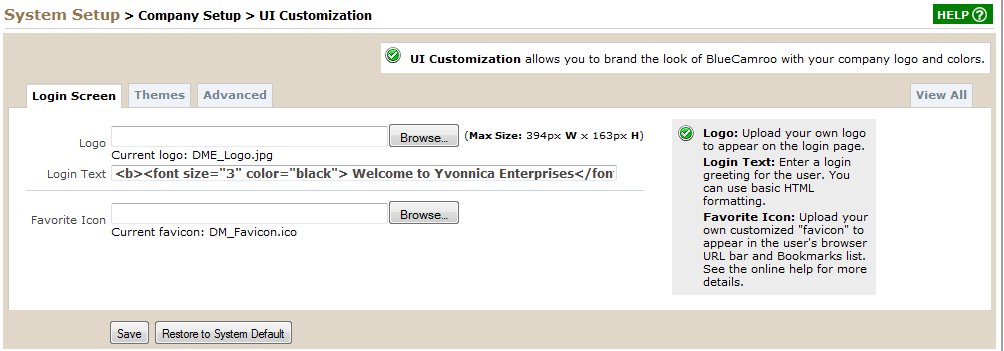
If you've never done this, you don't need the wizard to do it. You can always go to System Setup > Company Setup > UI Customization and upload your own logo.
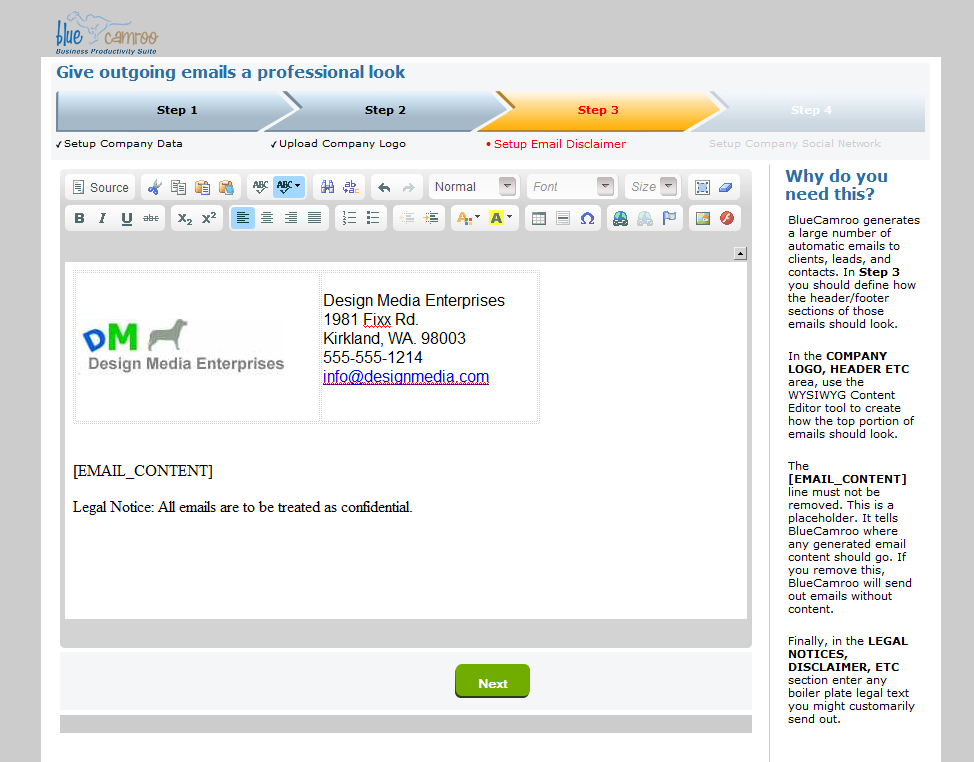
Step 3 lets you set up your set up headers/footers that will appear on all outgoing communication from BlueCamroo. This posts back to the General Email Template found under System Setup > Company Setup > Automation > Email / Message Templates.
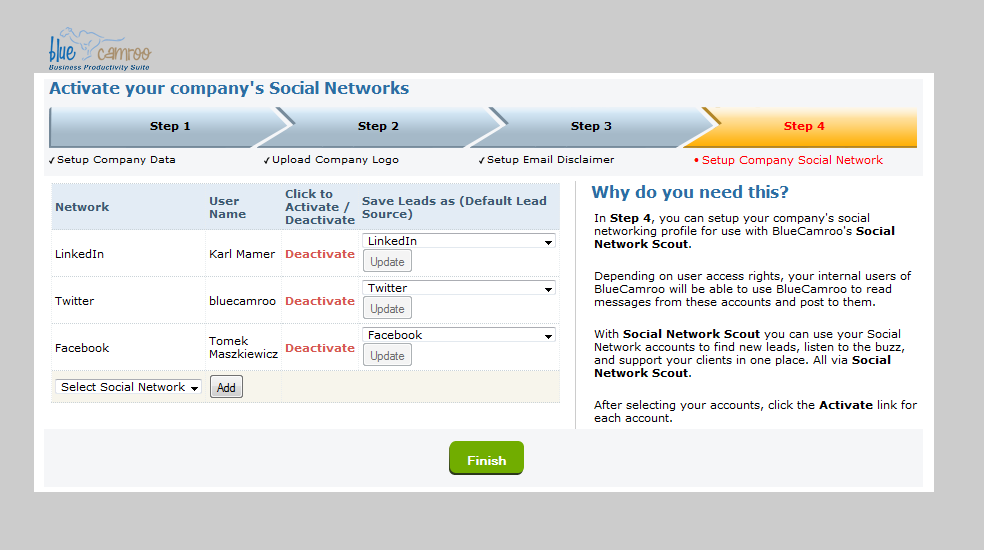
The final step lets the admin connect BlueCamroo to company social network accounts. Social networking is becoming key to doing business for many of our users and it seemed logical to make this a key step.
Personal Setup Wizard
New Admins and all new users will also be presented with a similar looking Personal Setup Wizard. Like the Admin Setup Wizard, the Personal Setup Wizard captures some basic information in simple dialog box fashion and then posts it back to BlueCamroo. All Admins should probably review these screens so you have an appreciation for what's going to suddenly pop up on a new internal user's monitor the first time he/she logs in.
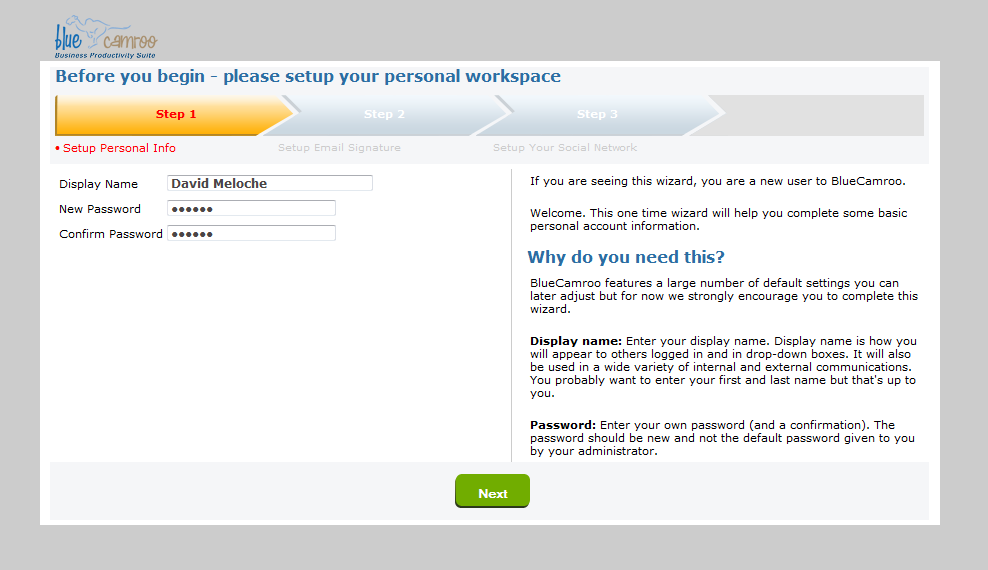
If you're like a lot of Admins, you probably cringe at the thought of how many users never change the default password you gave them. Even if you caution them directly to CHANGE THEIR PASSWORD AND NOT LEAVE THE DEFAULT AS FIRSTNAME123, a good many users simply fail to take that simple step.
So in Step 1 you can see we're getting the new user to supply a new password. Security nightmare over. You can now sleep at night.
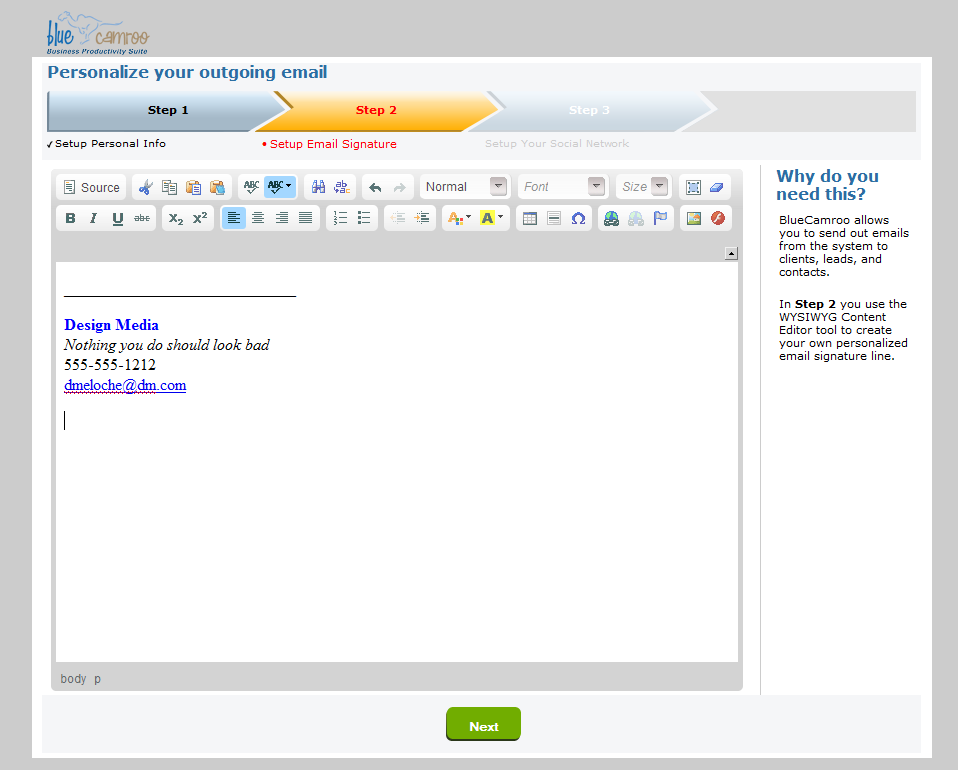
Step 2 the user is asked to complete his or her own email signature line. This will be appended to the bottom of emails the user sends out.
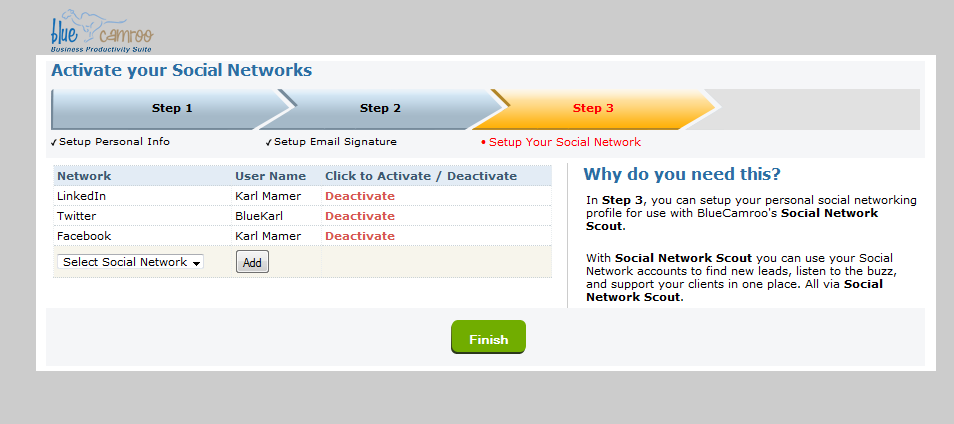
Finally, Step 3 has the user complete his/her own social network profile. It bears repeating here, when a user enters his/her own social networks, only the user will be able to see information from his/her own personal accounts. However, it is beneficial at times for users to share their feeds with other users.
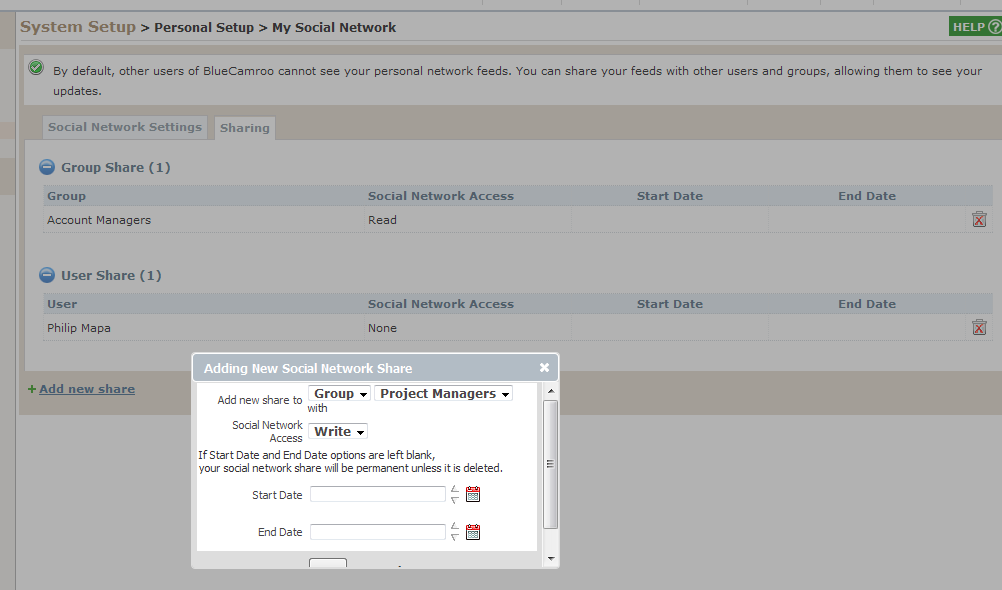
Under Personal Setup > My Social Network a user can click on the Sharing tab and setup a sharing arrangement. Read rights allows another user to simply read the personal feed. Write rights allows other user to post or tweet under the user's name. Users might want to extend that rights level sparingly.
- Solution
- Pricing
- How Your Business Runs
- Developers
- API Documentation

©2026 BlueCamroo Inc. All righs reserved